Design
|
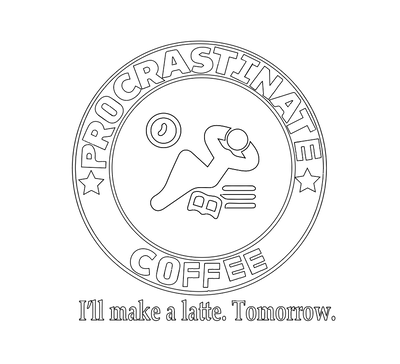
It took me a little bit to come up with a design, but since I work at Starbucks, I decided to do a parody of their logo. I am an awful procrastinator, so I decided this would be a fun design to do.
|

|
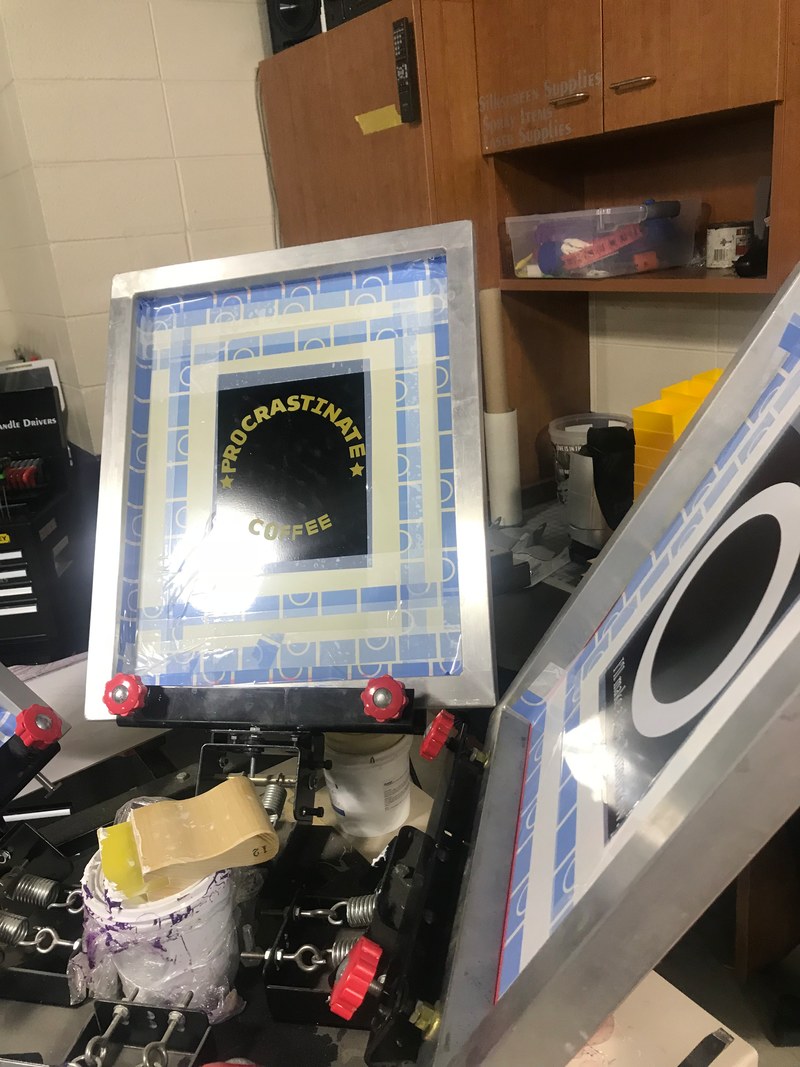
The Screens
|
The design had to be at least four different colors, and each screen needed too be its own color, so we needed to prepare four screens. It was best to make all of them as lined up as possible (in the same position on every screen), so you would have to do minimal lining up when you put them on the machine. After you had your design on the screen, you have to use tape to seal the other parts of the screen so no ink would get places you didn't want it to be.
|
|
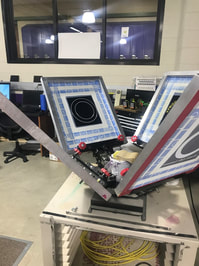
Setting Up
|
Each screen, once prepared, needs to be clamped into the machine. In order to line them up, there needs to be a print of the completed design on the table. You need to look through the screens and line them up with the print. You should first clamp them as close to the place they need to be as possible, then use a hammer to tap them exactly into place.
|
|
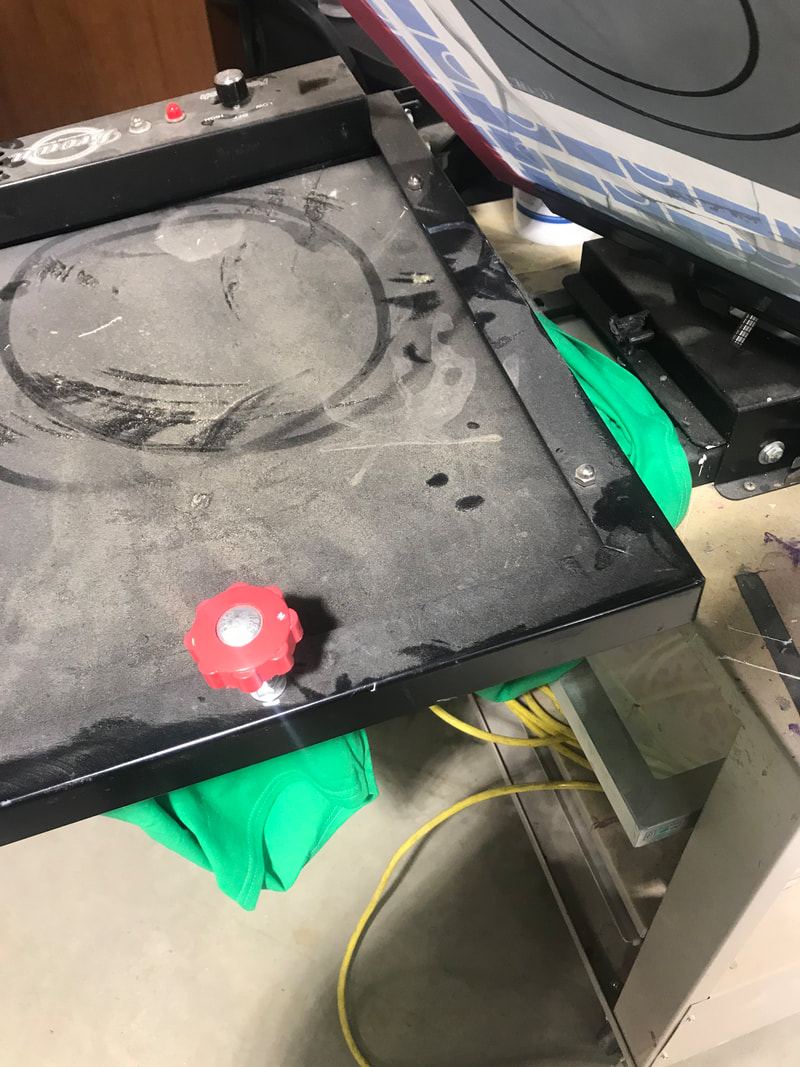
Printing
|
The key to making these turn out well is finding the right pressure to squeegee the ink through the screen. If you press too hard, the edges of your vinyl design will come up, and if you don't press hard enough, the design will end up splotchy and inconsistent. Between each color of ink, you have to use the heat thingy to dry your design, so the old ink won't get on the back of the other screens.
|
|
|
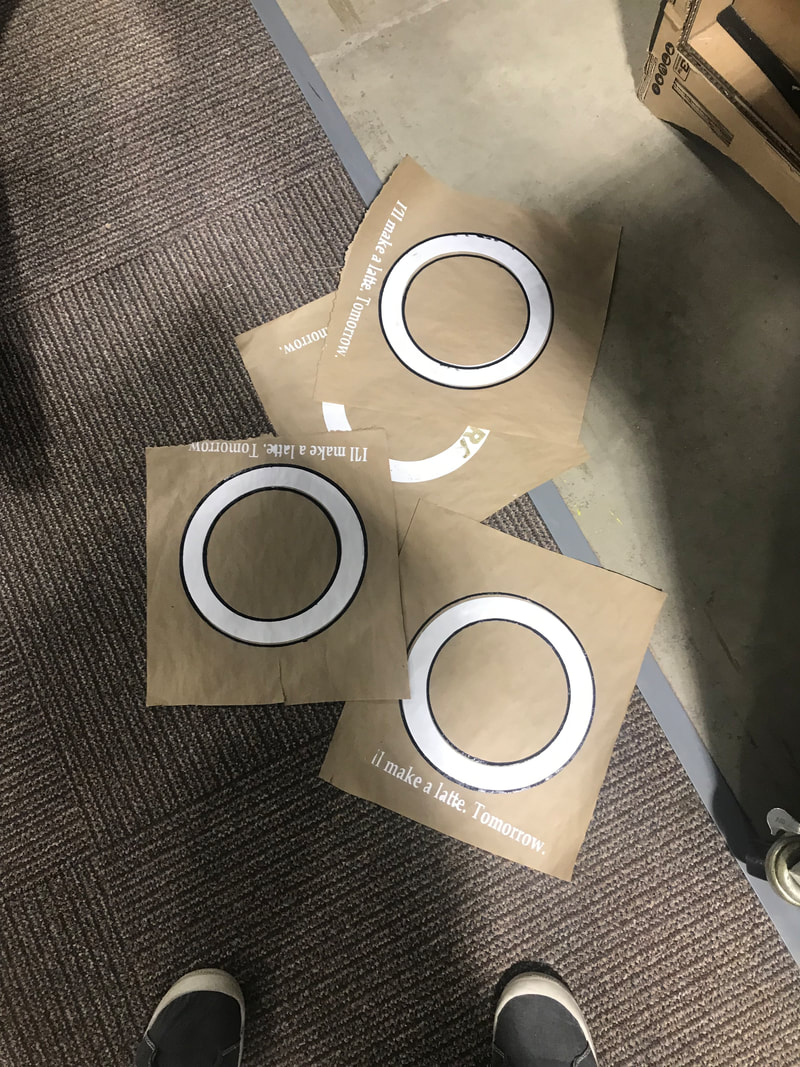
Before printing for realsies, you should use pieces of paper to test how lined up the screens are. Since my design required it to be almost perfectly lined up, I did a lot of test prints. These are about half of all my test prints, which are mostly me trying to get the black rings to line up with the white.
|
|
The Final Product
|
I ended up being not incredibly happy with the final product, since the edges of my vinyl turned up on my first t-shirt print, so they all have splotches of ink that bled through. I still had a fun time printing. I got kinda frustrated after a while, but if everything had gone right, I probably would do this again.
|
